Quick answer: Start with one small pattern and a method that gives you a reference to follow, rather than copying an elaborate design freehand. This guide walks through two reproducible patterns step by step, a four-petal flower and a simple wave border, with a diagram for each step so you can check your progress against it.
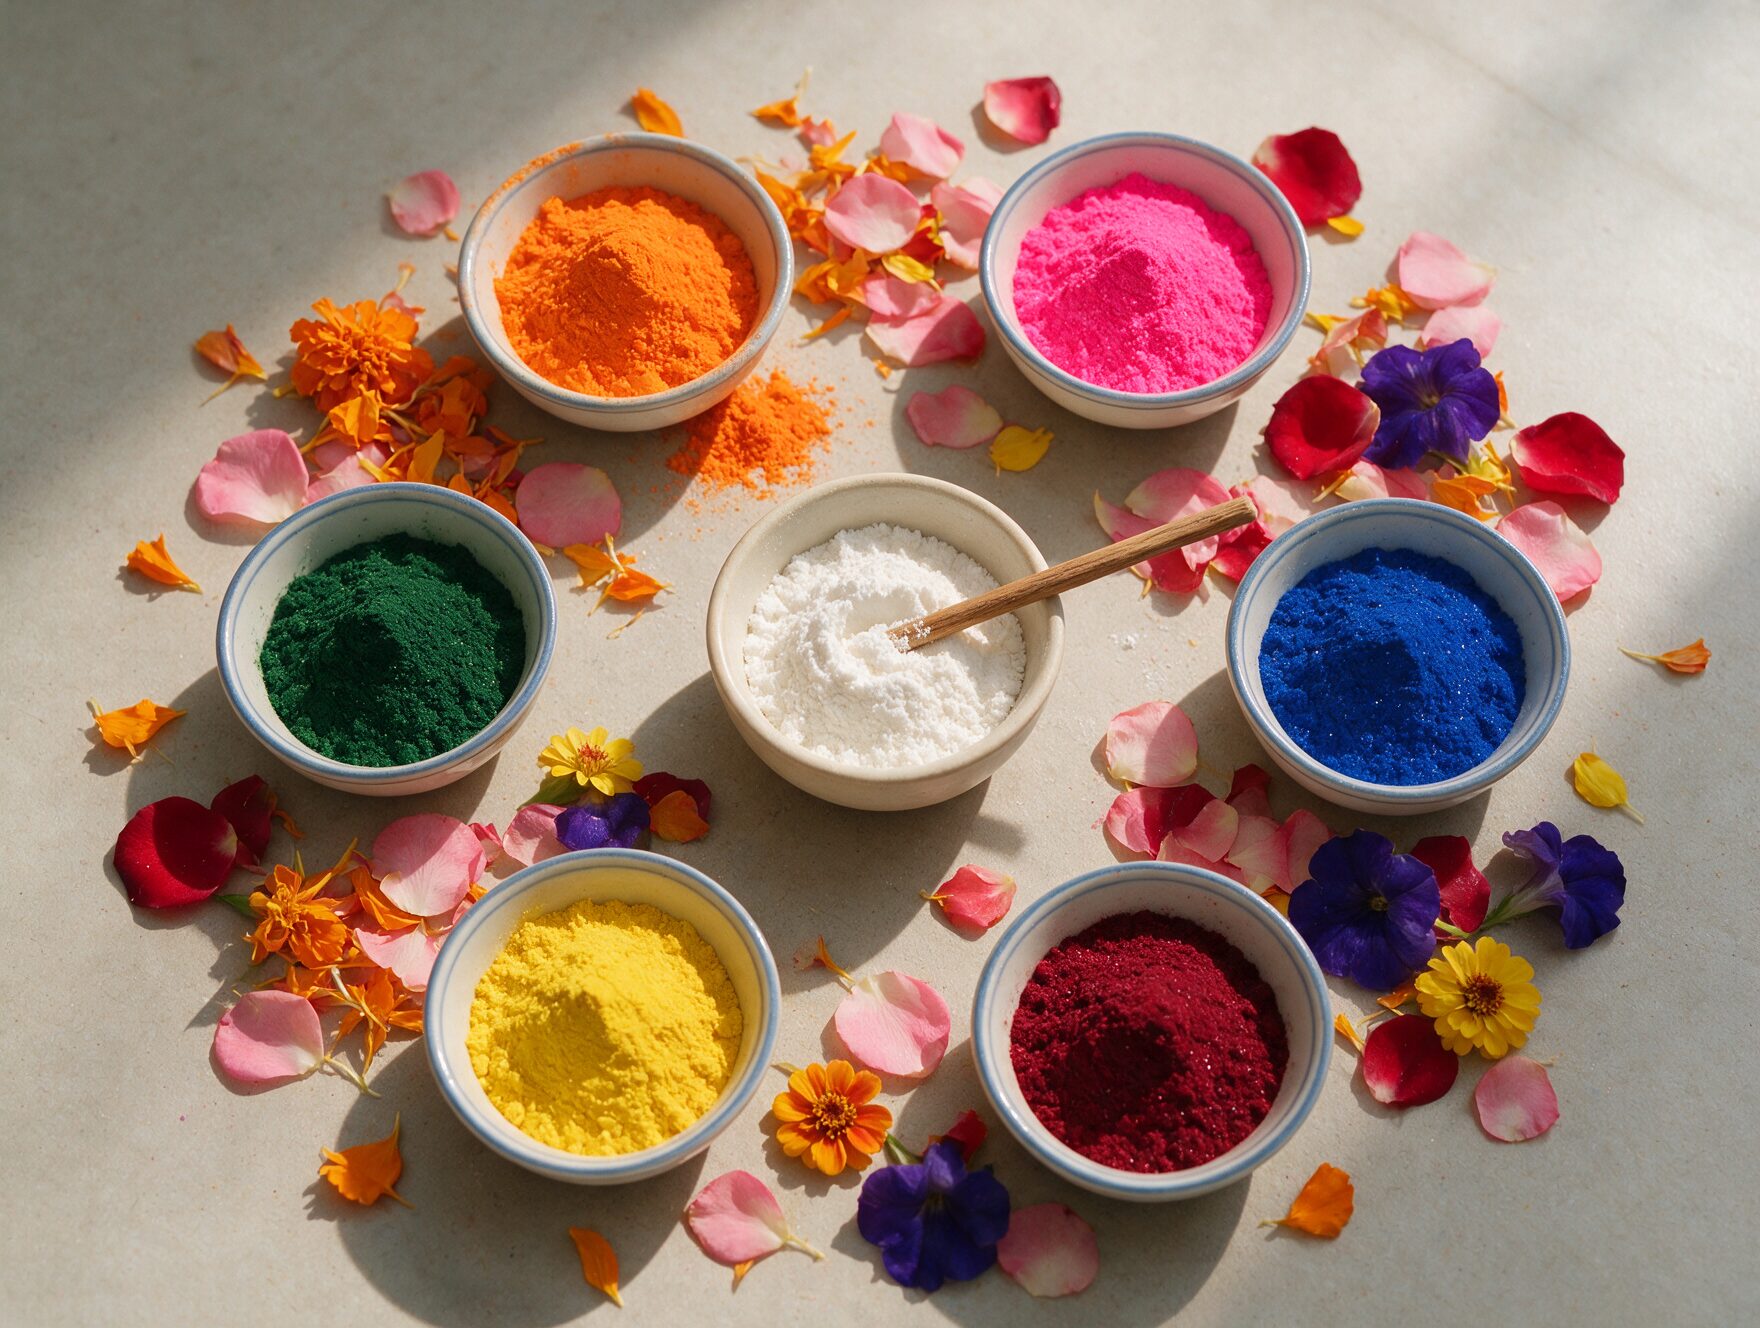
This guide uses an original, AI-generated photograph for the materials section, and original diagrams for the two step-by-step patterns. The diagrams are illustrative references showing the exact pattern taught, not photographs of a real, completed rangoli.
Materials for Beginners
Commercial rangoli powders vary in composition, colour, and texture between brands; check the product information and whether it suits your intended surface before buying. Rice flour is a traditional base material in several regions, historically coloured with vegetable dye. Chalk works for practising a dot grid and outline before committing to colour. Flower petals are a traditional alternative or addition, useful for simple designs that don’t need precise powder control. Whichever material you choose, a flat, dust-free surface matters more than the material itself: sweep and dry the area first, since dust or dampness affects how cleanly any of these sit.
| Material | Suggested role | Check first |
|---|---|---|
| Rice flour | Simple dots and outlines | Surface compatibility and cleanup |
| Coloured rangoli powder | Filling or contrasting outlines | Product information and colour transfer |
| Suitable chalk | Practising guide marks | Whether it can be removed from the chosen surface |
| Flower petals | Arranged shapes or borders | Colour transfer, condition, and exposure to wind |
| Paper practice sheet | Learning the pattern before floor application | Keep it away from flames and walking routes |
Choosing a Method
No single method is universally easiest; each gives you a different kind of reference to follow. Practise your chosen pattern on paper first regardless of which method you pick.
| Method | What it helps with | Main limitation |
|---|---|---|
| Dot-guided pattern | Gives reference points for spacing | Still requires following a clear connecting sequence |
| Freehand pattern | Allows flexible shapes and layouts | Proportions may vary with practice |
| Stencil | Provides a ready-made outline | Result depends on the stencil and how it’s positioned |
| Petal arrangement | Allows shapes to be assembled without powder lines | Petals vary in size and can move |
The two tutorials below use a dot-guided pattern and a simple guide-line pattern, chosen as practice designs for this guide, not as the only correct approach or as authoritative traditional patterns.
Tutorial: Four-Petal Flower
This pattern uses a 3×3 grid, nine dots in total: four corners, the middle of each of the four sides, and the centre. Each petal is a single curved shape drawn between the centre dot and one of the four side-middle dots.
- Mark the nine dots of a 3×3 grid using rice flour or chalk, spaced evenly with your fingers or a piece of string as a guide.
- Starting at the centre dot, draw one curved petal shape out to the middle dot on one side, then back to the centre, so the petal is a single closed shape.
- Repeat the same petal shape from the centre to each of the other three side-middle dots, working around in order, until all four petals are outlined.
- Fill all four petals with one colour, working from the centre outward.
- Optionally, mark the four corner dots as small accent dots in a second colour; they aren’t connected to the petals.
- Keep the finished design outside your walking route for as long as it remains in place.
Tutorial: Simple Wave Border Along a Wall Edge
Choose a short section beside a wall, outside the walking route and clear of the door’s movement, rather than across a doorway or threshold.
- Mark a short guide line beside the wall at the length you want, using chalk.
- Divide the line into six equal intervals using evenly spaced marks.
- Draw one continuous wave through all the marks, curving alternately above and below the guide line.
- Add a dot in every other space between the marks, not in every space.
- Fill the wave in one colour, then add the second colour for the dots only.
- Keep the design outside the walking route for as long as it remains in place.
Practical Considerations
- Placement and walking routes. Loose powder underfoot can be slippery. Keep the design outside the main walking route, stairs, door movement areas, and access to safety equipment, for as long as it remains in place.
- Wind and outdoor spots. Wind can disturb both loose powder and petals outdoors. Choose a sheltered location outside the walking route rather than assuming any particular material holds up better in wind. Don’t wet the floor solely to hold a design in place without checking the material and surface are suited to that.
- Cleanup. Removal depends on the material and the floor finish, not just the category of material. Test your proposed material and cleanup method in an inconspicuous area first, with permission where relevant, and remove loose material carefully before cleaning any remaining colour according to your flooring’s instructions.
- Open flames. Don’t assume that rangoli materials, petals, or any surrounding decorations are suitable near an open flame. Keep any diya separate from the design, and follow the holder, placement, and supervision guidance in our Diwali decoration guide.
- Shared corridors and building rules. In a shared apartment corridor, check your building’s permission before placing a design there, and keep access routes clear regardless of the design’s size. A small or removable rangoli isn’t automatically permitted.
A Note on Rangoli Traditions
India has several regional traditions of threshold and floor decoration: rangoli in Maharashtra and Gujarat, kolam in Tamil Nadu, and other regional names such as muggu, mandana, alpana, and chita elsewhere in the country. Their designs, materials, and local customs vary. In many households, these practices carry devotional or auspicious significance connected to inviting prosperity, alongside their decorative role (Asian Art Museum: making rangoli, a celebration of colour). This guide covers the practical side of getting started with a small pattern; it isn’t a complete account of any single regional tradition.
What to Check Before You Start
| Check | Why it matters |
|---|---|
| Surface is clean, dry, and dust-free | Affects how cleanly your chosen material sits and how even your lines look |
| Pattern matches your available space and practice time | Practising on paper first helps you judge this before committing to the floor |
| Placement is clear of the walking route | Reduces slip risk and accidental disturbance |
| Indoor vs. outdoor exposure | Wind affects loose powder and petals; check the location is sheltered |
| Material and floor compatibility | Removal and staining depend on the specific material and floor finish |
| Shared-space permission, if applicable | Corridors and common areas may have building rules independent of design size |
Frequently Asked Questions
Which rangoli method should a beginner try first?
Choose a simple pattern with a clear guide. Dots provide spacing references, while a stencil supplies an outline. Practise on paper before choosing the method you find easiest.
What materials do I need for a simple rangoli?
Use a suitable material for the chosen pattern, such as rice flour, rangoli powder, or petals. Check its product information and compatibility with the surface before starting.
How large should my first rangoli be?
Choose a size that fits entirely outside the walking route. Practise a small version of the pattern on paper first rather than relying on a promised completion time.
Can I make rangoli on a balcony?
A sheltered location may work, but wind can disturb powder and petals. Check the surface, building rules, and available space, and keep doors, walking routes, and drains clear.
Can rangoli materials stain the floor?
They may leave colour or residue depending on the material and floor finish. Test the material and removal method discreetly before making the full design.
Where should I avoid placing rangoli?
Avoid walking routes, stairs, door movement areas, and access to safety equipment. Keep the design separate from open flames, and confirm permission before using shared space.
Sources & Notes
Cultural and historical context references the Asian Art Museum’s guide to rangoli. The materials photograph in this guide is an AI-generated image, not verification of any product’s composition. The step-by-step diagrams are original illustrations built to match the instructions exactly; they are practice designs chosen for this guide, not authoritative traditional patterns.